1.修改你的flutter app的启动图标
具体步骤如下:在.android 目录下面 **android/app/src/main/res/ ** 这个文件夹下面中存放着app的图标,下图所框选的文件夹中替换你想要的启动图标
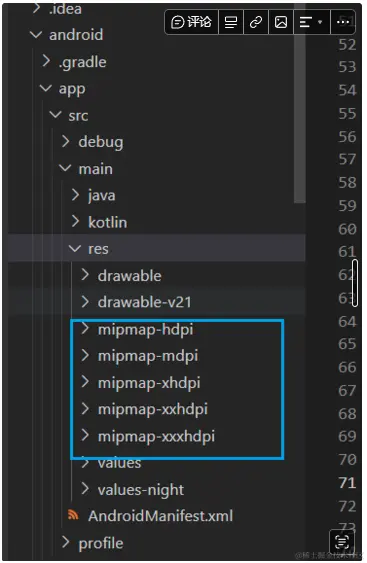
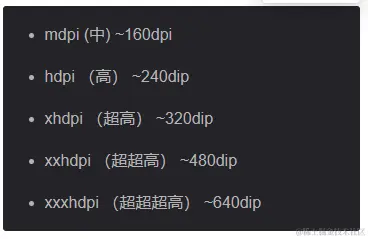
去替换图标即可,图标名称要保持一致,并且要与之适配的分辨率
2.修改应用名称,在android文件夹下,android/app/src/AndroidManifest.xml 中
 <application

         android:label="one-app"
        android:name="${applicationName}"
        android:icon="@mipmap/ic_launcher">
        <activity
            android:name=".MainActivity"
            android:exported="true"
            android:launchMode="singleTop"
            android:theme="@style/LaunchTheme"
            android:configChanges="orientation|keyboardHidden|keyboard|screenSize|smallestScreenSize|locale|layoutDirection|fontScale|screenLayout|density|uiMode"
            android:hardwareAccelerated="true"
            android:windowSoftInputMode="adjustResize">

                 the Android process has started. This theme is visible to the user
                 while the Flutter UI initializes. After that, this theme continues
                 to determine the Window background behind the Flutter UI. -->
            <meta-data
              android:name="io.flutter.embedding.android.NormalTheme"
              android:resource="@style/NormalTheme"
              />
            <intent-filter>
                <action android:name="android.intent.action.MAIN"/>
                <category android:name="android.intent.category.LAUNCHER"/>
            </intent-filter>
        </activity>
        <!-- Don't delete the meta-data below.
             This is used by the Flutter tool to generate GeneratedPluginRegistrant.java -->
        <meta-data
            android:name="flutterEmbedding"
            android:value="2" />
    </application>
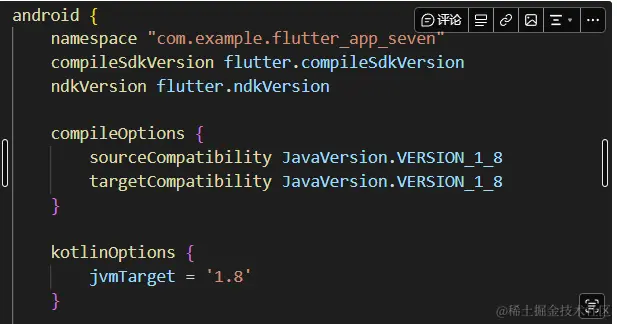
3.继续在android文件夹下面,找build.gradle ,是app下面的文件
第一处修改点: 找到这样一段代码前面
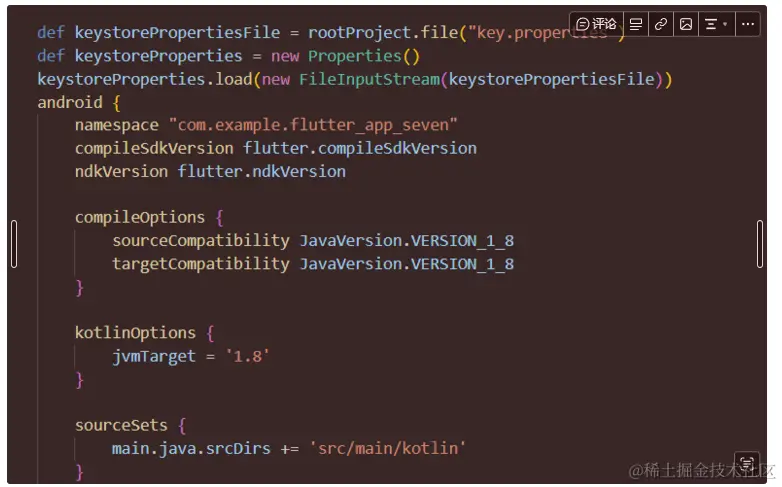
在此代码之前添加一段代码:
def keystorePropertiesFile = rootProject.file("key.properties")
def keystoreProperties = new Properties()
keystoreProperties.load(new FileInputStream(keystorePropertiesFile))
修改完成,如下图所示:
第二处修改点:
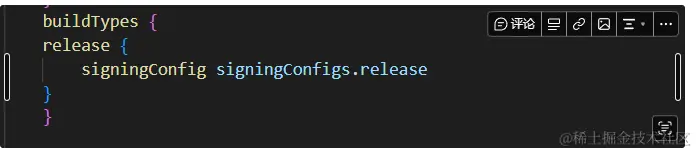
将此代码整体替换为下面的代码块:
signingConfigs {
    release {
        keyAlias keystoreProperties['keyAlias']
        keyPassword keystoreProperties['keyPassword']
        storeFile file(keystoreProperties['storeFile'])
        storePassword keystoreProperties['storePassword']
    }
    }
    buildTypes {
    release {
        signingConfig signingConfigs.release
    }
    }
4.在android文件夹下面新建一个文件,名称为:key.properties 用于存放生成app签名密钥的密钥口令和密钥存储文件位置信息
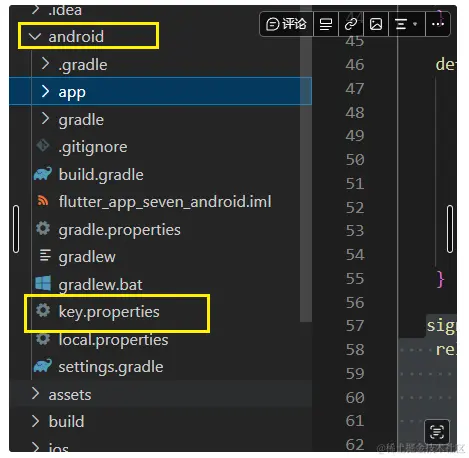
在此文件中添加以下信息
密码以及密钥存储位置都可以修改,根据自己需求来做!
storePassword=123456
keyPassword=123456
keyAlias=key
storeFile=D:/key.jks
5.这一步就快走到了打包的结尾,生成app签名密钥,
这里的D盘 可以修改为你想过要存储位置
keytool -genkey -v -keystore D:/key.jks -keyalg RSA -keysize 2048 -validity 10000 -alias key
直接在终端输入这个命令,按回车,会出现如下内容:
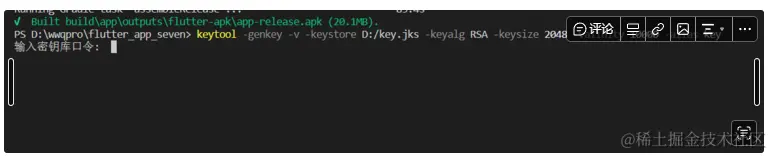
这里我们输入之前自己设置即可,输入两次并成功之后,会出现让你填写如下图所示的等一系列信息。
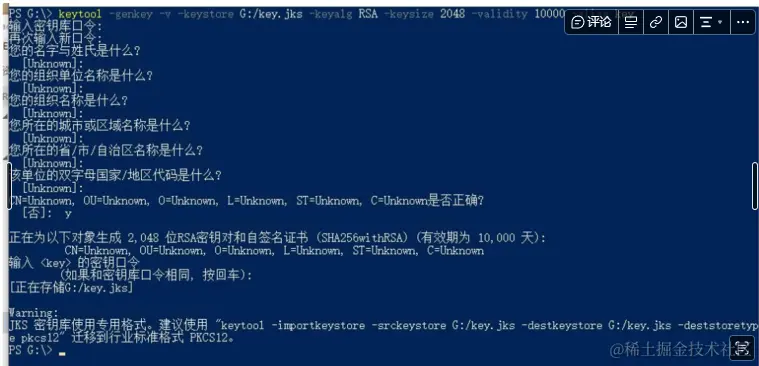
输入完后按回车,密钥文件已生成,可在D盘进行查看。
6.最后一步打包,输入命令 flutter build apk

到这你的apk文件已经打包好啦!!!撒花✿✿ヽ(°▽°)ノ✿
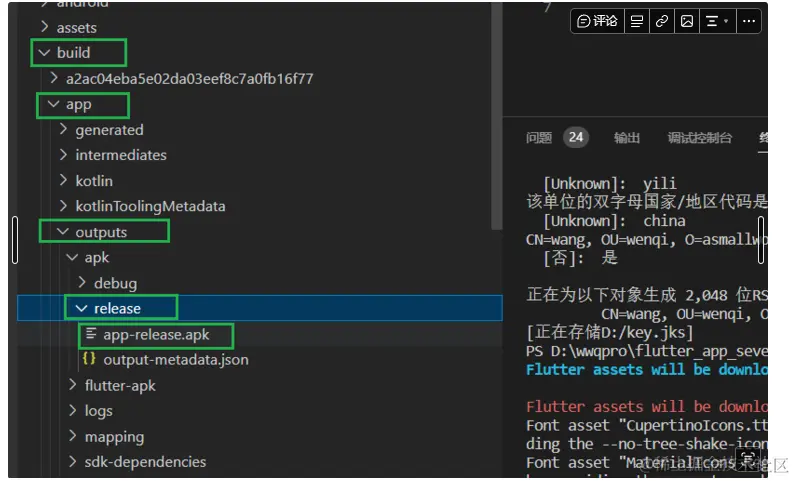
7.打包完apk后,我们发现在整个app目录中多了一个文件夹,
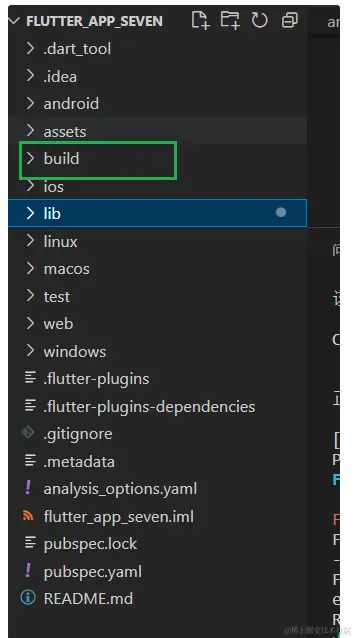
寻找一下我们的apk包,在此文件夹下面